Introduction
In my previous post I showed how to enable MATLAB in Jupyter notebooks on Windows. Now it’s time for GNU/Linux (Ubuntu).
My main issue with enabling new kernel was having initially installed two Anacondas and two Python versions (2.7 and 3.5). After a lot of frustration, I decided to remove both Anacondas and have a clear install of the latest Anaconda with Python 2.7 and 3.5. In this tutorial I assume that Jupyter and MATLAB are already installed on your system.
Using the right environment
Although the official MATLAB website states that Python-MATLAB engine works with Python 2.7, 3.4, 3.5 and 3.6, I struggled to install it using Python 3.5. If you try to install it with a 3.5 version, you will see the following error:
OSError: MATLAB Engine for Python supports Python version 2.7, 3.3 and 3.4, but your version of Python is 3.5
The error makes it obvious that you need an older version of Python. I decided to use 2.7. To do that, I created another environment with Python 2.7:
conda create -n py27 python=2.7 anaconda
The guidelines to managing Python environments are here.
The next step was checking what environments were available:
conda info --envs
And activating Python 2.7 (py27):
source activate py27

Install Python-MATLAB engine
To install the engine connecting both languages: go to your MATLAB folder, find the Python engine folder and install setup.py. This can be done in the following way:
Change your working directory to where your MATLAB lives:
cd "MATLABROOT/extern/engines/python"
If you don’t know where your MATLAB is installed, use:
locate matlab
Then install the engine (it will only work with MATLAB >=2014b):
sudo python setup.py install
And the latest remaining dependencies:
sudo pip install -U metakernel

sudo pip install -U matlab_kernel

sudo pip install -U pymatbridge
That should do the job. Now open new Jupyter notebook:
jupyter notebook
To check whether you can find MATLAB among the available engines (top right corner):

Now check whether you can actually run the notebook. Initially, when I tried using Python 3.5, I could see MATLAB among the options but the kernels would die each time I tried running the MATLAB code. Moving to Python 2.7, as described in this tutorial, solved the problem.
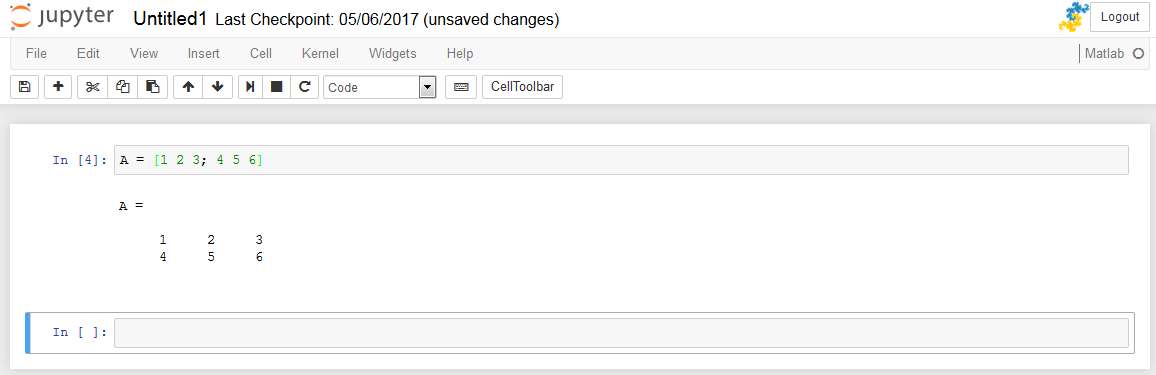
If all works fine then the following notebook should generate correctly:
Even though I’m getting the MetaKernelApp error, the notebook continues to work correctly:
[MetaKernelApp] ERROR | No such comm target registered: jupyter.widget.version

To leave the environment used to run the notebook, simply type:
source deactivate
Notes
Initially, I struggled a bit with making it all work so in the meantime I also tried installing Octave (a free equivalent of MATLAB). I’m not sure whether that installation helped me with running MATLAB within Jupyter.
While trying to install the engine I came across several errors. I guess that most of them were related to my OS configuration and all of them were solved by searching for the error message. One of the errors was:
Error:
[I 00:58:19.847 NotebookApp] KernelRestarter: restarting kernel (3/5)
/home/eub/anaconda3/bin/python: No module named matlab_kernel
This was due to installing the Python engine in the wrong environment (i.e. my default Python 3.5). It was solved by activating Python 2.7 and using it to install the Python-MATLAB engine.
I think that there is an alternative way to activate MATLAB in Jupyter, without Anaconda, would be to explicitly point the installer to the Python version that supports the Py-MATLAB engine.
In my case:
sudo ~/anaconda/pkgs/python-2.7.13-0/bin/python2.7 setup.py install
You might also want install the engine in a non-default location. In that case, MATLAB has a solution to that problem and suggested installing Python in the home directory.
There is another Jupyter kernel (imatlab) engine that supposedly works with Python 3.5 and MATLAB R2016b+ but I haven’t tested it myself. As long as my current configuration works, I’m not planning to go through the hell of installing dependencies again.